Buying the Machine
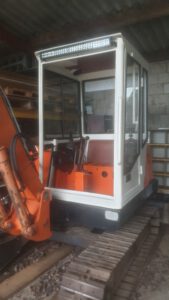
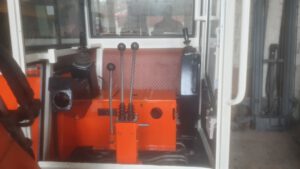
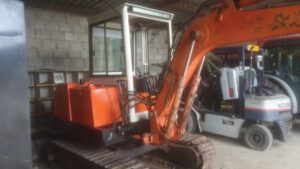
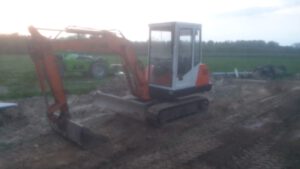
- Pel Job LS2000
- Built in 1987
- 20kw (25hp) Mitsubishi motor
- 3,5 Ton machine
- Steel Tracks
- 90L/Min Load Sense oilpump
- 1 Additional function
- Max 250 Bar oilpressure
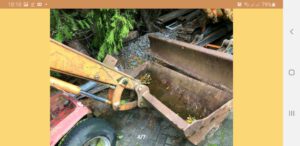
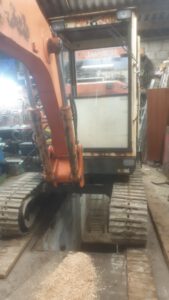
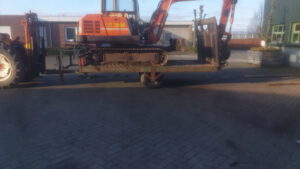
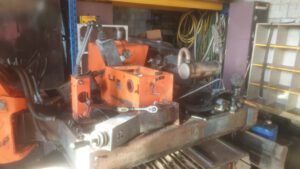
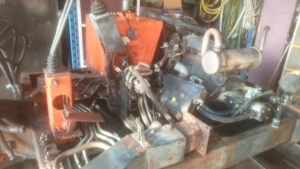
The machine was advertised at 20km from my home, and therefor was interesting because it wasn’t a far way to travel with it. I contacted the owner and made a appointment to take a look. The guy already told me it wasn’t running, and had been sitting for quite some years already. While i was there the guy got 3 phone calls for that excavator all bidding less that the requested price. I decided to sleep another night over it, and the next day i called the guy and made a deal on the price to buy the machine.
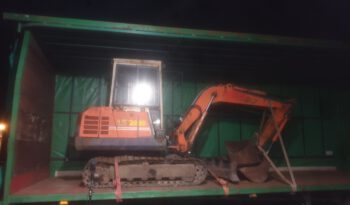
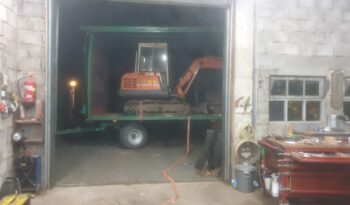
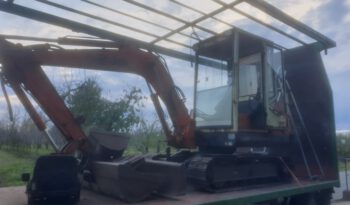
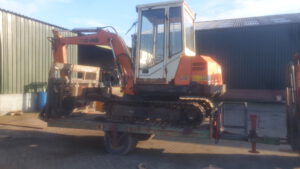
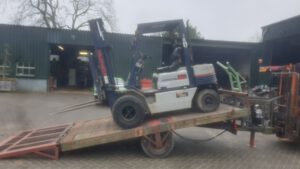
A few days later i hooked our International 956XL up to our sail trailer since the open trailer was lend out… I drove to the machine, and the guy loaded it for me with his 2,5 ton concrete weighted forklift. which should be no issue as the machine was also 2.5 ton. The forklift was quite old, and dancing arround and the machine fitted in the trailer with 2cm of play. i drove it home like this.
Getting the machine running
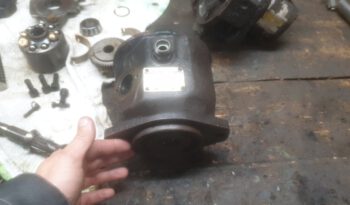
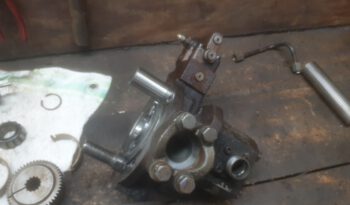
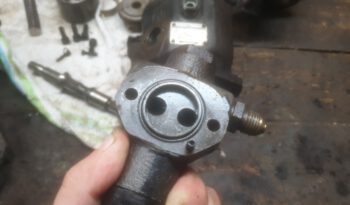
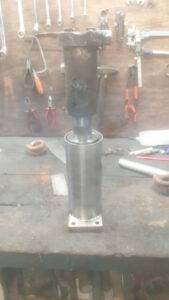
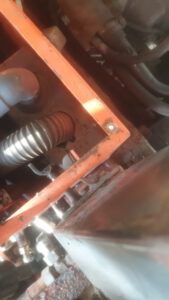
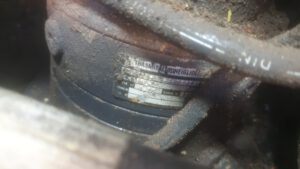
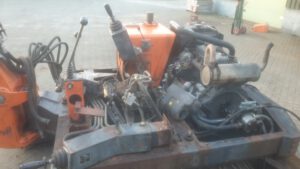
Once home i worked on the machine inside the trailer as i could not unload it. I was told the pump was toasted. so i started with taking it apart, and indeed it was far gone. I decided to send that out to have it fixed for me so it woul run well for sure. This set me back about 1900 euro to have the pump perfectly fixed.
Click here to display content from www.youtube.com.
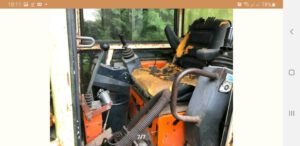
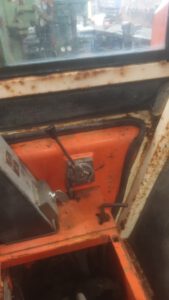
In the mean time i cleaned out the whole excavator as it was just filthy as it could be. Turned out i had a pretty big spidernest in the cab, as i defenitly killed over a 100 cross spiders… that’s what happens when a machine sits in the bushes for way to long. Eventually i cleaned the excavator throughly with the pressurecleaner, and also did the inside of the cab with the pressure cleaner. this in total costed me 6 hours to get the machine in a “cleaner” shape. It was about time to get that engine running as it hadn’t run for 10 years. after attaching the battery and having diesel attached i was able to get the Engine running within a few seconds, and it ran smooth as new. The next day my neighbour came by with his telehandler to pickup our trailer. He was able to lift the excavator off and put it on the ground for me, now it was atleast unloaded after 1,5 month…
By this time the pump had arrived back completely restored and i started mounting it on the excavator. That went all fine, but i realised i was missing 1 connection, and since i couldn’t source it within 2 days i decided to make my own.
Click here to display content from www.youtube.com.
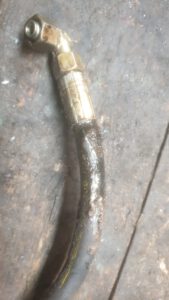
Since the pump was mounted i could start, and right from the start everything on the machine worked. This got me excited and i straight away drove into the garden to do some digging work for dad’s new mancave. Unfortunaly after arriving in the garden i already realized that i had a pretty big oil leak which turned out to be a hose in the middle of the excavator going into the rotator.
The first steps
Click here to display content from www.youtube.com.
I got the hose fixed and a few days later i was able to do the garden digging and also throw out a row op pear trees with their complete roots. This worked better than i ever thought before, as we were planning to spend a few days to take them out with the forklift tractor. With the excavator this took 1,5 hour.
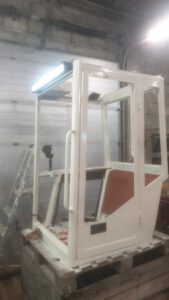
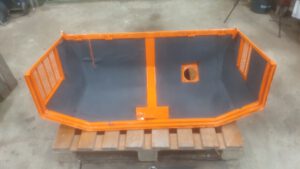
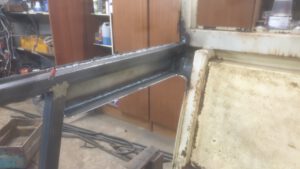
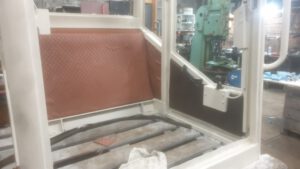
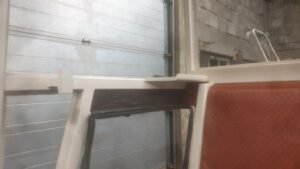
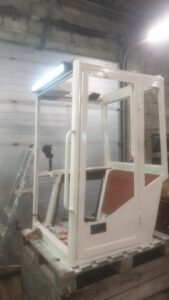
While doing this job i also figured out that i required a new track tensioner so i started making one from the old one. By now it was time to start the big restoration. so during the winter i took the cab off, the engine hood, hydraulic and diesel tank, seating, control consoles and basically everything above the frame. I gave it a very good cleaning again, and from here i started cleaning, sanding, cutting and welding to bring all the parts back in good shape. alot of platework had been rusted through during the years, and even the cabconstruction was rotten, which i just had to rebuild for a fair bit. After all the constructionwork and some heavy sanding it was finally time to spraypaint alot of my parts. I insulated the engine compartment, and also the cab including a nice leather pattern to finish it off. alot of detail work has gone into getting this in good shape again. By now i also found a trailer on the internet which i will talk about further down below.
Click here to display content from www.youtube.com.
Click here to display content from www.youtube.com.
Click here to display content from www.youtube.com.
The excavator was getting assembled slowly but solid. I added a huge 15.000 lumen light on the front where the windowwiper used to be. This is a really nice addition, and suits the machine. Also a new window had to be installed as the bottom window in the front was gone. Luckily enough i was able to order a brand new one on the internet for not too much money. The whole restoration took about 3 months and about 180 full working hours.
The transport trailer
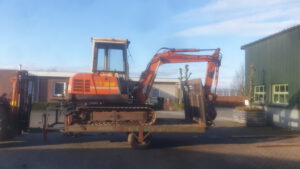
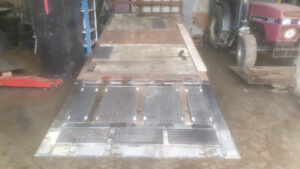
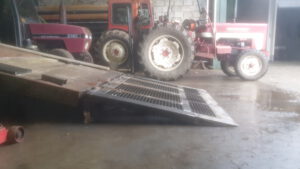
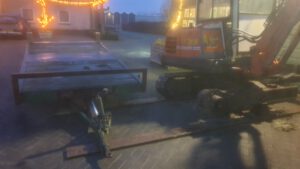
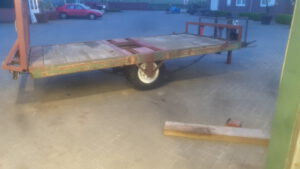
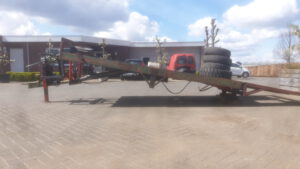
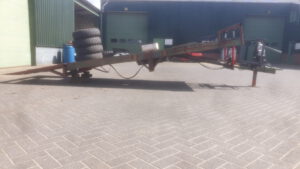
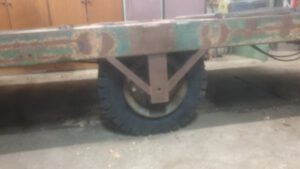
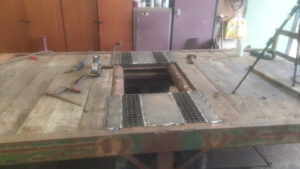
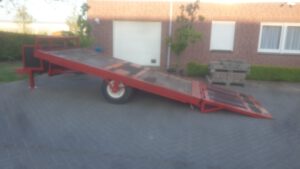
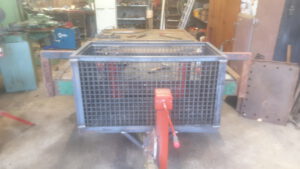
Because the excavator has steel tracks i wanted to be able to move it in a more convenient way, and after a few months searching i found a trailer on the internet, i eventually was able to make a sweet deal with the owner to have the trailer delivered at my place (only 250km from where it was located) for free. The trailer was really rough, but the construction is solid.
Click here to display content from www.youtube.com.
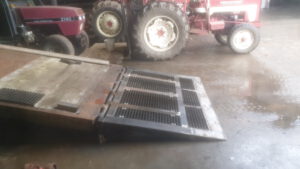
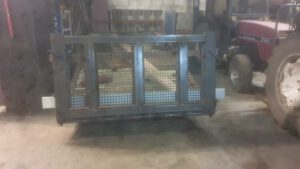
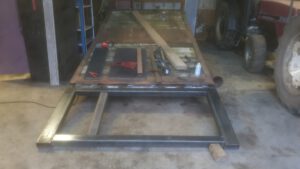
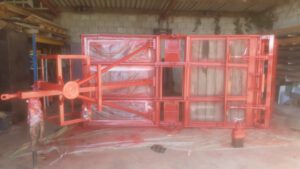
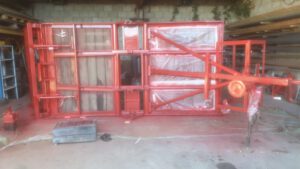
The trailer was originally built as a tilt cart which means the weight of the excavator should tilt it which is quite risky, and made the ramp quite steep. i did not like it. but since this trailer is built so heavy i could easily make out of it what i like. So i started making a ramp behind the trailer. I designed this ramp in my head, and just welded it together as i liked it. Because the trailer was capable of doing 10 tons i wanted to have the ramp being able of this weight aswell. The ramp is hydraulic controlled with a handpump on the front of the trailer. This pump also controls the tilting of the trailer, as the trailer now tilts, and has a tilting ramp to make a nice not steep angle. I decided to build a handpump on there specifically because you can operate it always and everywhere. it will always work. On battery, i am guaranteed it always has a empty battery in the worst situations. and when hydraulics of the tractor are required it also makes the plugging in and out more work, and not being able to use the trailer with any machine.
Click here to display content from www.youtube.com.
Click here to display content from www.youtube.com.
Click here to display content from www.youtube.com.
The undercarriage restoration
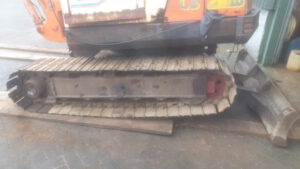
The undercarriage was having some issues, and not being treated yet. about 6 months after doing the cab i finally had time for the undercarriage. That is just because we are farming, and you can’t move harvest. for the carriage i ordered new sprockets, then put the excavator on the trailer and got the tracks off. From here i could sand and clean everything nicely. Once done i painted the undercarriage and mounted the new sprockets and all other parts back. I also made a trailer connector so we could pull trailers through the orchard if we would have work like this.
Click here to display content from www.youtube.com.
The first gripper
Since we are having a fruitfarm my idea has always been to build special tools for the excavator. this should allow us to use the excavator for a wider variety of work which is always way too heavy for our own backs. To throw out appletrees we have nothing that does it very clean. We made alot of tools in the past, but nothing that makes it a easy 1 man job. Now that we have the excavator it made sense to build a gripper. I have looked at alot of grippers, but figured that i wanted a parallel gripper because it can pickup mostly anything. Unfortunaly that’s a rare one, so i decided to design it myself with the tools i have in my workshop.
Click here to display content from www.youtube.com.
Unfortuanly i figured out soon enough that i did build it too weak, but that’s how experiments go, you just build, and weld when it breaks. The gripper fullfilled it’s purpose perfectly, but isn’t technically perfect by far.
The CW05 QuickAttachment
Changing tools doesn’t come easy with the connection method the excavator came with. At first i thought it was fine, but after struggling a few times trying to exchange a bucket i decided i should invest in a quick attachment. I have been thinking about hydraulic or mechanic, and eventually due to the complexity of integrating a hydraulic valve into my excavator oil circuit i decided to go for a mechanic one, i don’t need to change buckets every day anyway.
After doing a lot of research a CW05 connection seemed to be the correct size. I also searched for buckets with CW05 connections, but they were so expensive i decided to adjust the buckets that i currently have.
When scavenging Ebay i came across a log gripper for only a few bucks and thought it would be helpful for ours, so picked it up and attached a CW05 adapter to it aswell.
Click here to display content from www.youtube.com.
Load Sense oil problematic
at this moment i have the excavator for 2 years and i am starting to sense issues with my oilflow. The engine overheated twice during work and i could hear the engine working harder when i didn’t operate anything then when i operated it. This indicated to me that the LS pump was delivering a lot of oil while no oil was required, and this is wrong.
To understand what is wrong you have to understand how a LS pump works first. This is perfect explained in the video below, and that’s also how my excavator works.
Click here to display content from www.youtube.com.
Because my oilpump kept delivering high pressure oil, and was actually requesting alot of engine power doing so the issue could be a few things.
- There could be LS pressure due to a faulty valve in the excavator.
- The LS regulator could be broken.
- The Power regulator could be broken.
- the control piston spring could be broken
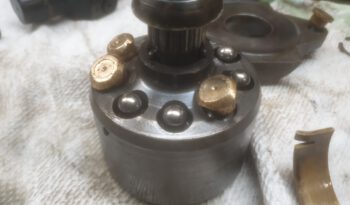
- The pistons and valve plate are worn out causing leakpressure.
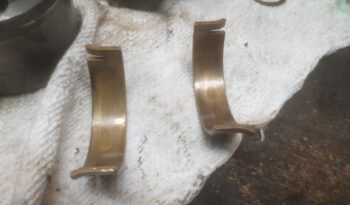
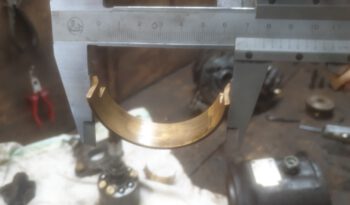
- The pump bearingshells could be worn out, and got the pump stuck in a angle.
This all together causes a whole search where i had to exclude things that were not wrong. Let’s go through that issue by issue.
- To exclude this issue, i had to run the excavator without the LS line connected. I did this by disconnecting the LS line and hanging it into a bucket while having the excavator running. Barely any oil came through, i had a manometer on it, but it showed 0 bar. This means this is not my issue i’m seeking for.
- A broken LS regulator could definitely be the issue here. To exclude this issue i found a new Pump quite like mine on Ebay, but with different options. When exchanging the regulator of that pump with my pump it made no difference at all so this was not the issue.
- Another part that could block the pump from returning to 0 is the power regulator. This part ensures that the excavator cannot take more power then which the engine can deliver. It does so by measuring oilflow and pressure, which when multiplied with eachother is the power in KW. To lower the power but remain strength the pressure stays the same, but the oilflow is reduced to prevent the engine from being overloaded. To test this i removed all external connections, and eventually even removed the complete power regulator and put a bucket below the pump. When running the excavator it still was pumpin oil, and it was leaking very bad over the leakhose. This indication would tell everybody that the plunjers and valveplate are worn out. Ofcourse i wouldn’t believe this, as the pump is revised 2 years ago, and the excavator has plenty of power and speed.
- It’s time to open up the exavator. To manage that i thought of a solution by using the vacuumcleaner to prevent having to drain my hydraulics tank. Sucking it vacuum means it wont drain the oil out through the hoses. With the vacuum cleaner on the hydraulics tank turned on i dismounted the pump, and spilled nearly no oil. I opened the pump up and the springs in the pump were fine.
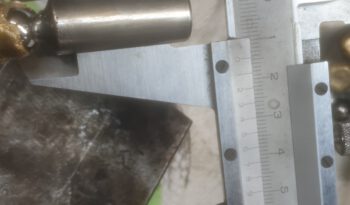
- I took a good look at the pistons, did a oiltest to see if the pistons would leak oil through over time, but that seemed all fine. The valveplate had a weird black color, but looked really flat. The black color could be explained from hot oil due to the circulation of oil at high pressure. conclusion this isn’t the issue.
- To test if the bearingshells are worn out i could simply press down the side where the control piston pushes, and this went really smooth up and down concluding that this was all fine and in good condition.
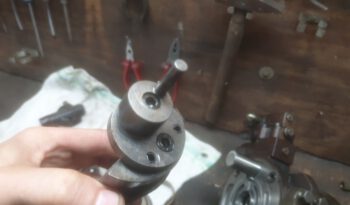
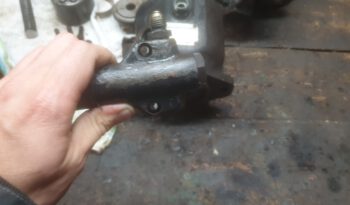
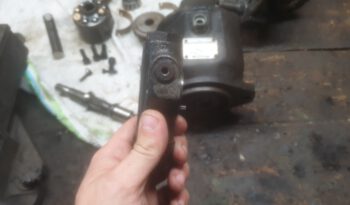
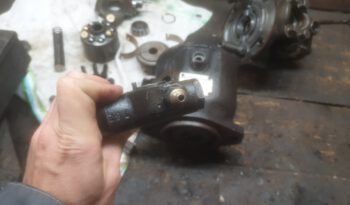
Now what is the issue? I accidentally touched the control piston a bit harder, and noticed it moved a bit… That could not be the case, and it seemed that the control piston came lose, while i thought this was a adjustment screwthread it actually came lose, and got jammed back into it’s own thread at the last winding. I took it lose, and tried tightening it up, but saw quickly that this wasn’t straight anymore. Luckily i had a extra pump, so i took that apart and got the control piston out which was exactly identical. i installed this, and then the whole pump back in the excavator.
After mounting everything i could start up the engine, and immediatly it sounded like a really light idling engine again which was wonderful!
This whole proces of figuring this out took me 6 months, with a total of 5 companies asked who all determined that the pump had to be replaced by a new one as the plunjers and valveplate would be worn out. And looking back it was a easy and cheap fix.
A10V028 Rexroth pump Repair
Click here to display content from www.youtube.com.
That is the current state of the excavator.
More information will follow when updates come.
The Excavator boom revision
Ever since i got the Excavator i wanted to restore the boom, however it was my lowest priority, it was working and i knew it would be a heavy job to get it done properly.
Now is the time to start on this. So i took the forklift out, a big hammer, and started taking everything apart.
Ofcourse it was all soaked in oil so i had to wash it throughly.
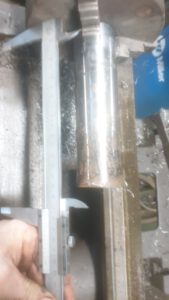
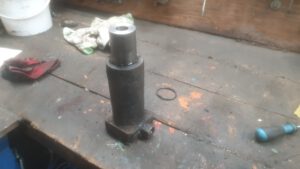
Once i had all the parts cleaned up i could get the bushings out. This was a hard and heavy job. I needed a new heavier pulleypuller for this which could work for inside bushings.
Putting that inside and pulling hard got all the bushings to slowly move out. This worked pretty well, and after 8 hours of pulling i got them all out.
In needed alot of different bushingsto get everything fixed up.
After googling alot i found all the bushings i needed. These together got close to a 1000 euro, but if this will last for another 20 years then i’m pretty happy .
I sanded all the parts to get them ready for painting. after sanding i installed all the new bushings which was another 4 hours of heavy hammering to get these all into place.
all cilinders on the boom were leaking oil, not alot and mostly internal. This means they leak inside and oil stays inside, this is annoying as it means your cilinders will sink over time and i don’t like that. For that reason i took apart every cilinder completely to figure out how to restore them. This was alot of work as there was alot of seals in every cilinder. I spend a full day just on documenting all seals and finding the right ones. this set me back for another 400 euro’s just on seals…
This being my first time i ever replace cilinder seals myself i had to learn alot. I found out that this excavator has quite special cilinders as they have integrated one way valves in the cilinders which could be for dampening purposes. Atleast it’s visible that this excavator was designed throughly.
When assembling i had to watch my own video material back alot to figure out how to mount everything back again.
I did manage to mount everything back in the proper order, and it seems i got all the seals in on the correct way.
After instaling new seals and bushings it’s time for the cosmetics. I decided to paint everything orange as it would look good if the boom got a new paint layer since the old one is pretty worn out. i painted everything with 2 component paint to ensure a long lasting layer.
After painting i cleaned up all the bushings.
after 3 days of drying i started assembly of the whole boom. This turned out to be a bigger job as expected as the new bushings made things fit quite accurate, so i had to smash the pins in pretty hard, but with alot of grease this did work out.
I installed all the hoses, pipes and cilinders back on, checked their functionality and turned some hoses arround to get everything working in the correct direction. at last i made new grease points on the boom and greased it very hard as i want alot of new grease in the whole boom.
Now the excavator has a boom like a new one and i’m super excited to dig again with the excavator with it’s new revised boom.
boom restoration video
Click here to display content from www.youtube.com.


